Let's be honest—there's nothing worse than watching a key player go down mid-over and realising your first aid kit is about as useful as a chocolate teapot. Whether you're coaching a junior side at the local oval, managing a grassroots club in the Sheffield Shield pathway, or just the parent who got voluntold to look after the gear bag, having a properly stocked cricket first aid kit isn't just smart—it's essential.
I've seen too many games where a simple blister turns into a week off training, or a twisted ankle gets taped up with electrical tape because nobody packed the right gear. Not on my watch. This guide will walk you through exactly what your team needs, step by step, so you can focus on the cricket—whether that's a weekend BBL watch party or a serious Test series preparation session.
What You'll Need Before You Start
Before we dive into the kit itself, grab a decent-sized waterproof bag or container. A tackle box or a dedicated sports bag works perfectly. You'll also want a permanent marker for labelling, and a small notebook or phone note app for keeping track of what gets used. Trust me, you'll forget what you ran out of by next week.
Also, check your club or association's policies. Cricket Australia provides guidelines for community cricket, and your local league might have specific requirements. This isn't legal advice—just common sense. For any serious injuries, always seek qualified professional medical guidance.
Step 1: Start with the Basics – Wound Care
This is your bread and butter. Every cricket first aid kit needs solid wound care supplies because, let's face it, we've all seen someone take a bouncer to the finger or slide into a rough patch of outfield.
What to pack:
- Sterile gauze pads (various sizes)
- Adhesive bandages (plasters) in multiple sizes—including knuckle and fingertip shapes
- Medical tape (hypoallergenic, not that shiny stuff that peels off after one over)
- Antiseptic wipes or spray
- Disposable gloves (nitrile, not latex—some people have allergies)
- Scissors (blunt-tipped for safety)
- Tweezers (for splinters and small debris)
Step 2: Blister Management – Every Cricketer's Nemesis
If you've never dealt with a bowler's heel blister mid-innings, you haven't been around cricket long enough. Blisters are the silent match-killers. A good blister management section in your kit can save a player's game.
What to pack:
- Moleskin or blister plasters (the gel ones work wonders)
- Compeed or similar hydrocolloid patches
- Alcohol swabs for cleaning the area
- Small roll of sports tape (for prevention, not just treatment)
Step 3: Sprains, Strains, and Impact Injuries
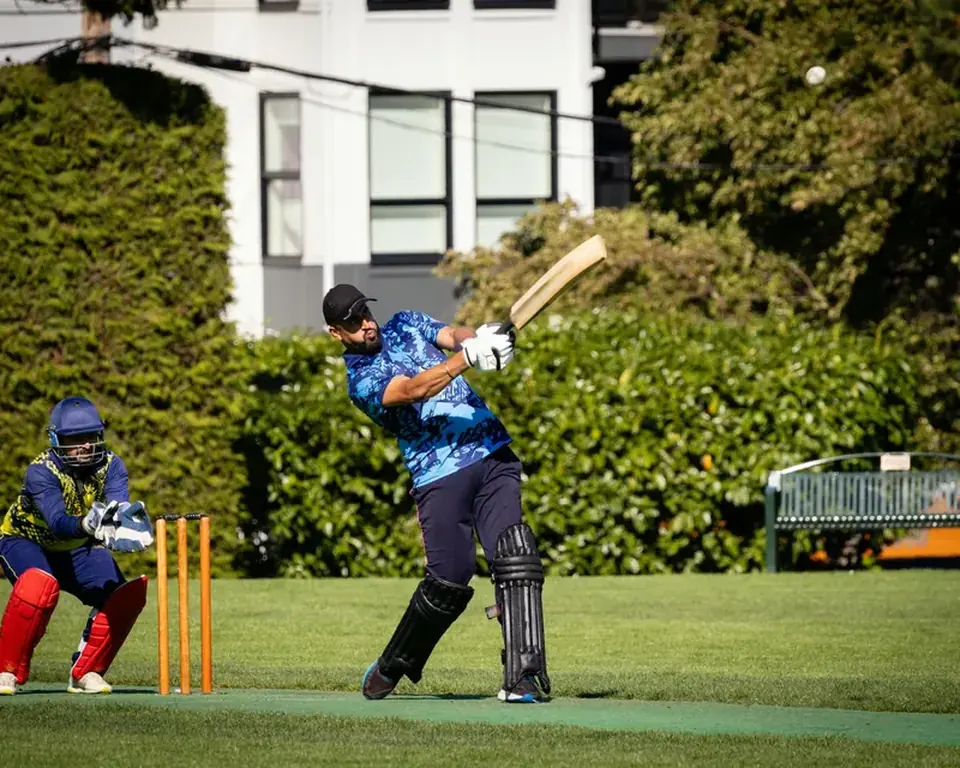
Cricket might not be a contact sport, but ask anyone who's copped a Pat Cummins yorker on the foot or dived for a catch in the field—impact injuries happen. You need compression, support, and cold therapy.
What to pack:
- Instant cold packs (the kind you squeeze to activate)
- Elastic bandages (ACE wraps or similar) in 2-inch and 4-inch widths
- Zinc oxide tape (for strapping ankles, thumbs, and fingers)
- Foam padding (for contusions and impact areas)
- Triangular bandage (for slings if needed)
Step 4: Sun Protection and Hydration Support
This isn't strictly "first aid," but prevention is better than cure. Australia's sun is brutal, and dehydration sneaks up on you faster than a Steve Smith cover drive.
What to pack:
- High-SPF sunscreen (at least 50+, and check the expiry date)
- Lip balm with SPF
- Electrolyte sachets (for mixing into water bottles)
- Small bottle of aloe vera gel (for sunburn relief)
- Reusable ice packs (for cooling down between sessions)
Step 5: Eye and Head Protection Basics
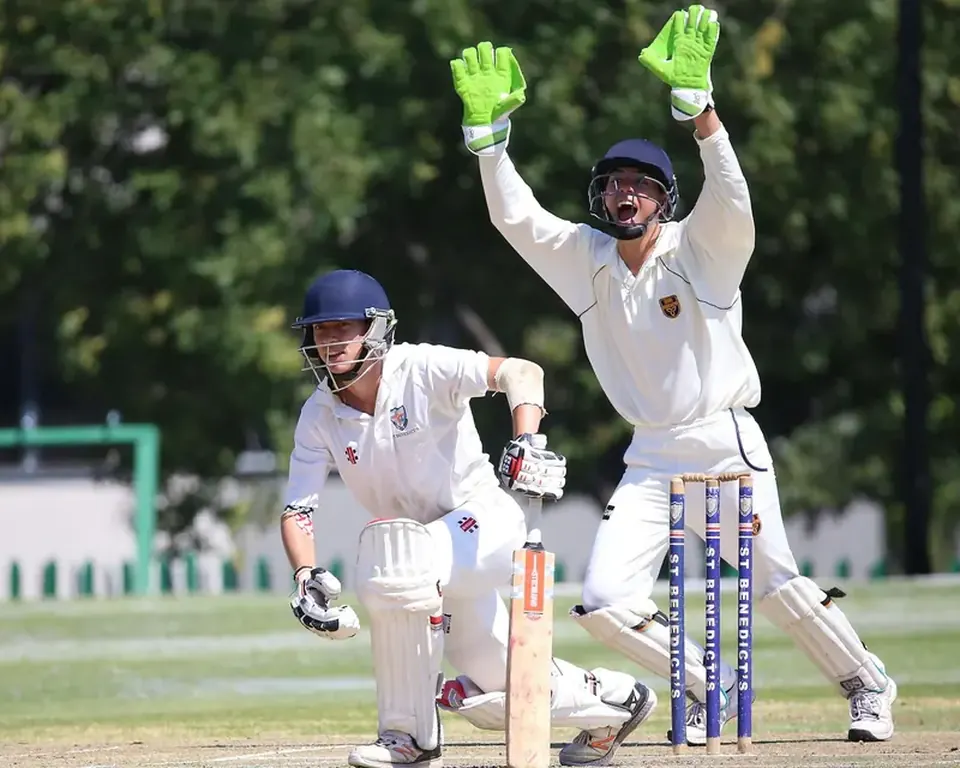
Cricket balls don't discriminate. Whether it's a Sheffield Shield match or a backyard game, head and eye injuries need immediate attention.
What to pack:
- Sterile eye wash solution (single-use ampoules are best)
- Eye pad and bandage (for covering an injured eye)
- Small flashlight (for checking pupil response)
- Concussion recognition card (downloadable from Cricket Australia's website)
Step 6: Tools and Extras That Make a Difference
The little things separate a good kit from a great one. These are the items that experienced trainers and parents swear by.
What to pack:
- Small multi-tool or Leatherman (for cutting tape, adjusting gear)
- Whistle (for getting attention in an emergency)
- Small notebook and pen (for recording injuries and what was used)
- Hand sanitiser
- Spare zip-lock bags (for organising smaller items)
- Disposable face mask (in case of respiratory issues or assisting with bleeding)
Step 7: Maintain and Restock Regularly
A first aid kit is only useful if it's actually stocked. I've opened too many club kits to find dried-out sunscreen and tape that's lost its stick.
Monthly checklist:
- Check expiry dates on all medications and creams
- Replace any used items immediately
- Clean out the bag and remove any debris or dust
- Reorganise so the most-used items are on top
- Update emergency contact information
Step 8: Know Your Limits
This is the most important step. Your first aid kit is for minor injuries and stabilisation until professional help arrives. It's not a substitute for medical care.
When to call for help:
- Any head or neck injury
- Suspected fractures or dislocations
- Severe bleeding that doesn't stop with pressure
- Difficulty breathing or chest pain
- Signs of heat stroke (confusion, hot dry skin, unconsciousness)
- Any eye injury involving the ball
Pro Tips from the Field
Tip 1: Label everything. When you're in a panic, you don't want to guess which packet is gauze and which is blister plasters. A permanent marker and some masking tape work wonders.
Tip 2: Keep a separate "player comfort" kit for long days at the ground. Lip balm, extra sunscreen, wet wipes, and a spare hat can make you the most popular person in the club.
Tip 3: If you're coaching juniors, include a small packet of lollies or jelly beans. Low blood sugar is real, and a quick sugar hit can turn a grumpy, tired kid back into a happy cricketer. Just don't tell the dentist.
Tip 4: For Big Bash League viewing parties or club social events, your first aid kit should also include antihistamines (for bee stings or allergic reactions) and a basic burn cream. Yes, someone will inevitably spill hot coffee or grab a sausage off the BBQ bare-handed.
Common Mistakes to Avoid
Mistake 1: Using expired sunscreen. It loses effectiveness and can cause skin irritation. Check the date every season.
Mistake 2: Forgetting to restock after a match. If you used tape or bandages, replace them before the next game. Nothing worse than needing a bandage and finding an empty box.
Mistake 3: Keeping the kit in a hot car. Heat destroys adhesives, melts creams, and ruins cold packs. Store it in a cool, dry place.
Mistake 4: Assuming someone else will handle it. If you're the one reading this, you're the one responsible. Take ownership of the kit and make sure it's game-ready every time.
Your Complete Cricket First Aid Kit Checklist
Use this checklist to build or audit your team's first aid kit. Tick off each item as you pack it.
- Sterile gauze pads (assorted sizes)
- Adhesive bandages (plasters) in multiple sizes
- Knuckle and fingertip bandages
- Hypoallergenic medical tape
- Antiseptic wipes or spray
- Disposable nitrile gloves
- Blunt-tipped scissors
- Tweezers
- Moleskin or blister plasters
- Hydrocolloid blister patches
- Alcohol swabs
- Sports tape (for prevention)
- Instant cold packs (at least 2)
- Elastic bandages (2-inch and 4-inch)
- Zinc oxide tape
- Foam padding
- Triangular bandage
- Sunscreen (SPF 50+, not expired)
- Lip balm with SPF
- Electrolyte sachets
- Aloe vera gel
- Sterile eye wash solution
- Eye pad and bandage
- Small flashlight
- Concussion recognition card
- Multi-tool or Leatherman
- Whistle
- Notebook and pen
- Hand sanitiser
- Zip-lock bags
- Disposable face mask
- Emergency contact card (with local hospital info and player allergies)
- Wet wipes
- Spare hat
- Antihistamines
- Basic burn cream
- Small packet of lollies or jelly beans
Final Word
Building a cricket first aid kit isn't complicated, but it does require thought and regular maintenance. Whether you're preparing for a Border-Gavaskar Trophy viewing session at the MCG or a junior match at your local oval, having the right supplies on hand means you can handle the minor stuff and know when to call for help.
Remember, this kit is about keeping players safe and comfortable—it's not a substitute for professional medical care. For any serious injury, especially head knocks, suspected fractures, or anything that looks infected, send them to a doctor or hospital immediately.
Now, go stock that kit. Your teammates (or kids) will thank you when they're still playing while the other team's player is sitting out with a poorly taped blister.
Related reading: If you're looking to upgrade your gear bag, check out our guide on cricket wicket-keeping gloves for keeping your keepers' hands safe, and don't miss our cricket shoe cleaning tips to keep your footwear in top condition. For more general gear advice, head to our gear and equipment hub.
Disclaimer: This article provides general information only and does not constitute medical advice. Always consult a qualified healthcare professional for injury diagnosis and treatment. Follow your local cricket association's safety guidelines and concussion protocols.
Reader Comments (0)