Let’s be honest for a second: nobody walks out to the middle at the MCG or your local oval on a Saturday thinking, “I hope I cop one in the ribs today.” But if you’ve ever seen a fast delivery rear up off a length, or watched a batter in the Sheffield Shield take a nasty blow to the helmet, you know that protective gear isn’t just optional—it’s non-negotiable.
Whether you’re a grassroots player, a parent kitting out a rising star, or a club coach wanting to keep your squad safe, this checklist is your new best mate. We’re not going to waffle on about the history of the baggy green or the latest BBL highlights. This is a practical, no-nonsense guide to making sure you’ve got the right gear for every format, from a T20 World Cup warm-up to a long weekend in the Border-Gavaskar Trophy. Let’s get you padded up properly.
What You’ll Get From This Article
By the end of this checklist, you’ll know exactly what protective gear you need for Australian cricket—from head to toe. We’ll cover the essentials for batters, wicketkeepers, and even fielders (yes, you need protection too). You’ll also learn common mistakes that even experienced players make, and we’ll give you a quick-reference checklist you can print, save, or share with your club. No fluff, just the good stuff.
Prerequisites / What You Need
Before we dive into the steps, here’s what you should have handy:
- A rough idea of your role (batter, wicketkeeper, fielder, or all-rounder)
- Your current gear bag (so you can check what you already own)
- A budget in mind (quality gear costs, but it’s cheaper than a hospital visit)
- Access to a reputable sports store or online retailer (we’ll link to our gear hub later)
Step-by-Step Process
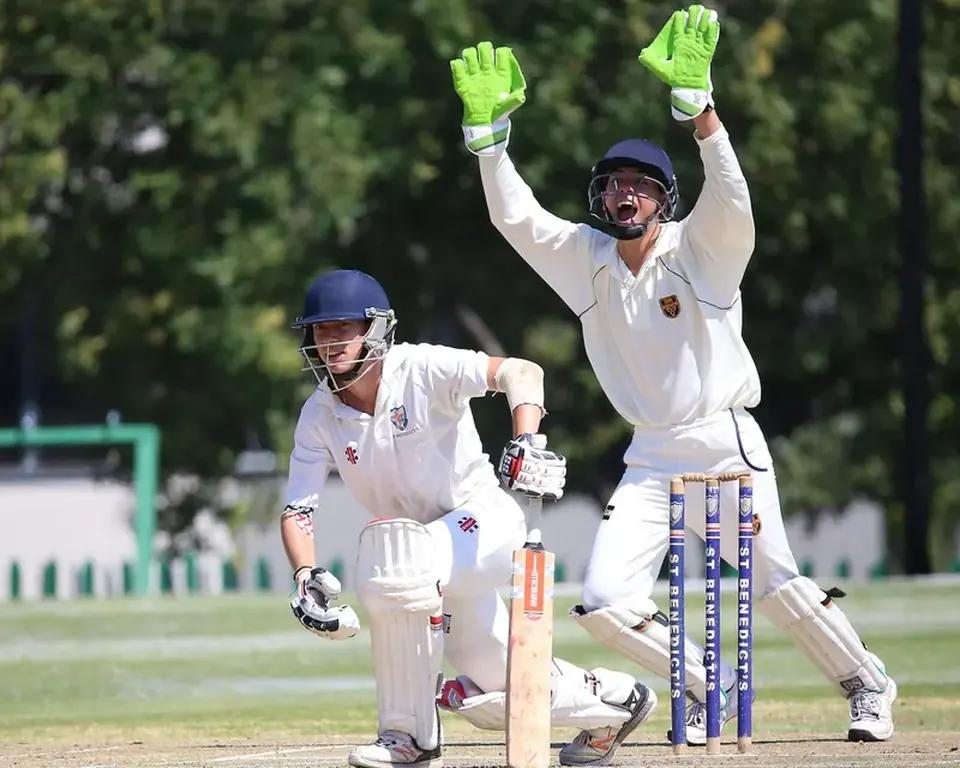
Step 1: Start with the Helmet – Your Non-Negotiable
This is the single most important piece of protective gear in Australian cricket. Whether you’re facing a 140 km/h thunderbolt in the BBL or a sharp bouncer in club cricket, your head needs the best protection money can buy.
What to look for:
- Certification: Ensure the helmet meets the latest relevant safety standard. Look for certification marking from recognized testing bodies. This is the gold standard for Australian cricket.
- Grille strength: The grille should be steel, not cheap alloy. It needs to withstand a direct hit.
- Fit: The helmet should sit snugly without wobbling. If you can shake your head and the helmet moves independently, it’s too big.
- Padding: Look for multi-density foam that absorbs impact. Some helmets now have advanced impact protection systems—worth considering if your budget allows.
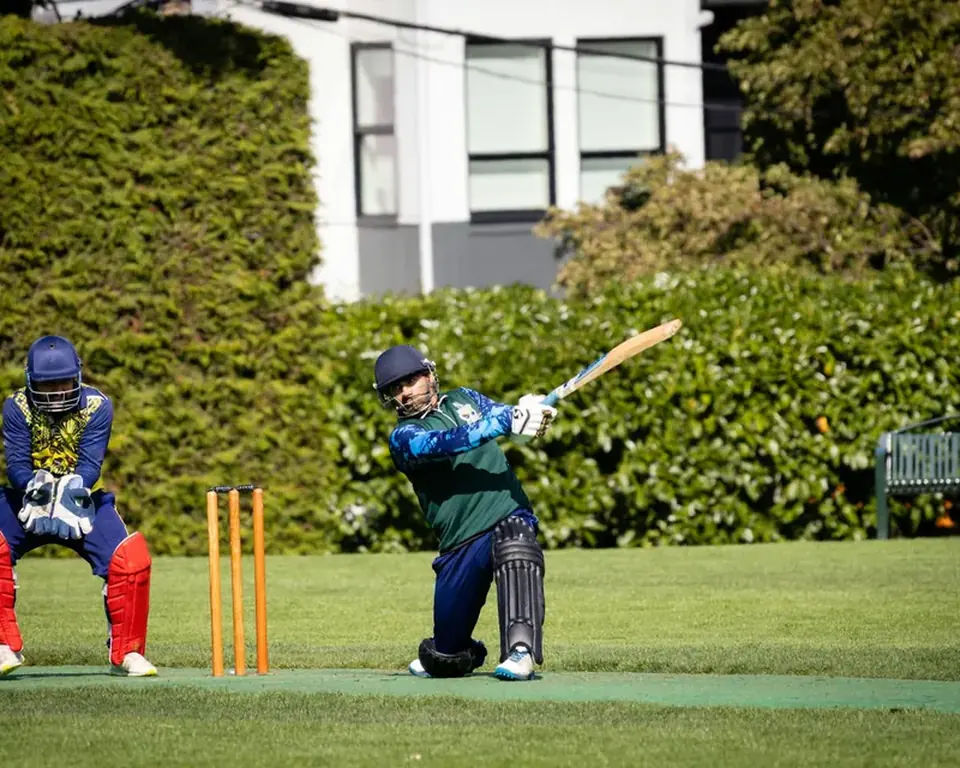
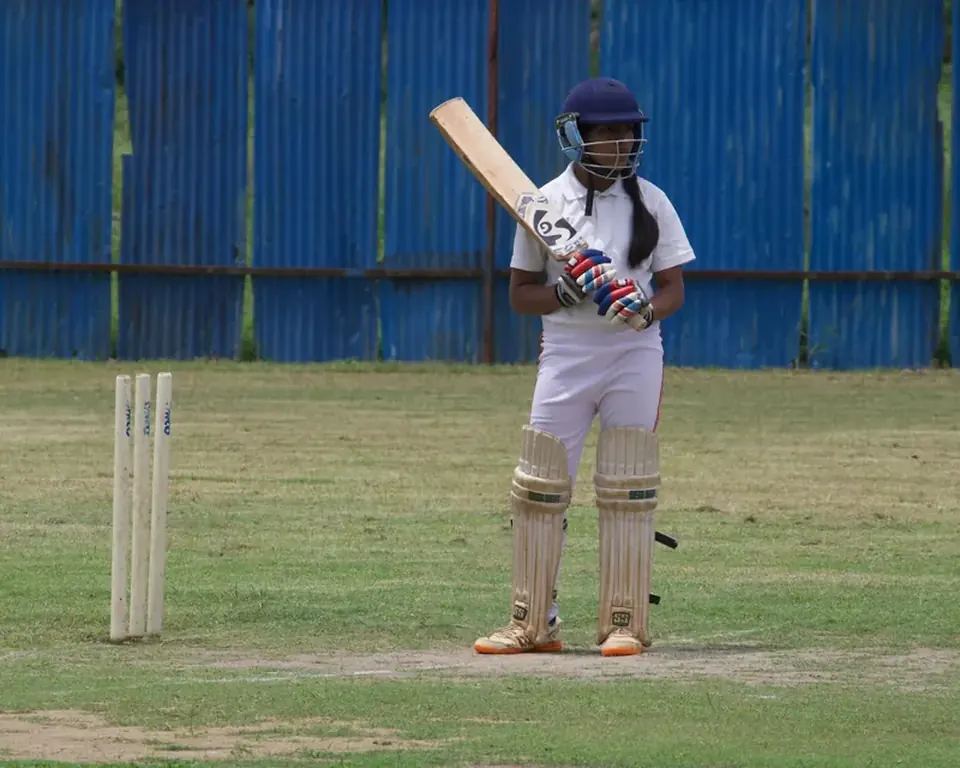
Step 2: Pads – Not Just for Show
Leg pads are your shield against fast bowling and sharp spin. But they’re not one-size-fits-all.
For batters:
- Length: Pads should cover from your knee to the top of your foot. If they’re too long, they’ll restrict movement; too short, and you leave gaps.
- Straps: You need at least three straps per pad. Velcro is fine, but traditional buckles are more secure.
- Weight: Heavier pads offer more protection but can slow you down. Modern lightweight pads with high-density foam are ideal for all formats.
- Specialist keeper pads: These are shorter and lighter than batting pads. They allow quicker movement and better flexibility.
- Knee protection: Some keeper pads have extra padding around the knee for when you’re diving.
Step 3: Gloves – Your Hands Are Your Livelihood
Top-level batters don’t walk to the crease without quality gloves, and neither should you. Hand injuries are common and painful.
For batters:
- Palm protection: Look for gloves with reinforced palm padding, especially on the thumb and index finger.
- Flexibility: You need to be able to grip the bat handle comfortably. Gloves that are too stiff will affect your shot-making.
- Size: Gloves should be snug but not tight. Your fingers should reach the ends of the glove without curling.
- Gloves vs. pads: Keeper gloves are different from batting gloves. They have webbing between the thumb and index finger for catching.
- Padding: The back of the hand needs protection from deflections. Modern keeper gloves have foam inserts.
- Grip: Look for gloves with good palm grip, especially in wet conditions.
Step 4: Box / Abdominal Guard – Don’t Skip This
This is the piece of gear that every male cricketer knows about but some still neglect. Don’t be that person.
What to look for:
- Hard shell: A plastic or composite shell that covers the groin area.
- Comfort: The guard should sit securely without riding up. Adjustable straps help.
- Breathability: Mesh panels or ventilation holes reduce sweat.
Common mistake: Wearing a box that’s too small or too large. It should stay in place when you run, squat, or dive.
Step 5: Chest and Arm Protection – For the Modern Game
With the rise of T20 cricket and aggressive batting, fielders and close-in catchers need more protection than ever.
For batters:
- Chest guard: Some batters wear a lightweight chest pad under their shirt, especially against fast bowling. Top quicks can generate serious bounce.
- Arm guards: These protect the forearms and elbows. They’re common in Test cricket and the Sheffield Shield, where bowlers bowl long spells.
- Close-in fielding: If you’re fielding at short leg, silly point, or forward short leg, wear a helmet, chest guard, and shin pads. Close-in positions can be dangerous.
- Inner thigh pads: These protect against balls that hit you while diving or sliding. They’re lightweight and worn under trousers.
Step 6: Footwear – Your Foundation
Your boots are your connection to the ground. Poor footwear can lead to slips, falls, and injuries.
What to look for:
- Spikes vs. rubber soles: On grass wickets, metal or plastic spikes give you grip. On synthetic pitches, rubber soles are better.
- Ankle support: High-top boots offer more ankle stability, especially for fast bowlers and wicketkeepers.
- Cushioning: Look for boots with good heel cushioning. You’ll be on your feet for hours.
For a detailed buying guide, check out our article on boot selection—the principles of fit, grip, and durability apply to cricket boots too.
Step 7: Thigh and Hip Pads – The Pain Points
Getting hit on the thigh is painful. Getting hit on the hip bone is worse. Thigh pads are simple but effective.
For batters:
- Inner thigh pads: These slide into your trousers and protect the upper leg.
- Hip pads: Some players wear a padded belt or shorts that cover the hips and tailbone.
- Thigh guards: Keepers often wear extra padding on the inside of the thighs for when they’re squatting.
Step 8: Elbow and Forearm Guards – For the Brave
If you’re batting against quality pace bowling, you’ll want forearm protection. Even in the BBL, many batters use them.
What to look for:
- Lightweight: Modern forearm guards are made of carbon fiber or high-density foam. They shouldn’t restrict movement.
- Coverage: They should protect from just below the elbow to the wrist.
- Fit: They should stay in place without slipping.
Step 9: Sun Protection – Yes, It’s Protective Gear
Australian cricket is played under brutal sun. Skin cancer is a real risk for players, coaches, and umpires.
What to use:
- Sunscreen: SPF 50+, water-resistant. Apply 20 minutes before going outside and reapply every two hours.
- Caps and wide-brimmed hats: Essential for fielding and between innings.
- Sunglasses: Polarized lenses reduce glare and protect your eyes from UV.
- Long sleeves: Many players now wear lightweight long-sleeved shirts for sun protection.
Step 10: Bag and Storage – Keep It Safe
Your gear is an investment. Treat it like one.
What to look for:
- Ventilation: A bag with mesh pockets or vents prevents mold and odor.
- Separate compartments: Keep your helmet, pads, and gloves separate to avoid damage.
- Waterproof base: Wet grass will ruin your gear. A bag with a waterproof bottom is worth it.
Pro Tips / Common Mistakes
Pro Tips:
- Try before you buy: If possible, visit a store and try on helmets, gloves, and pads. Sizing varies between brands.
- Break in gear gradually: Don’t wear brand-new pads or gloves in a match. Use them in nets first.
- Replace worn straps: Velcro and buckles wear out. A loose pad can shift during play.
- Consider the format: For T20, you might prefer lighter, more mobile gear. For Test cricket or Sheffield Shield, prioritize protection.
- Check your club’s policy: Some clubs have mandatory helmet rules for junior players and certain age groups.
- Buying cheap helmets: A very cheap helmet is not safe. Spend enough for a certified model from a reputable brand.
- Ignoring fit: Gear that’s too big or too small is worse than no gear at all.
- Forgetting about fielders: Close-in fielders need helmets and pads. Don’t assume only batters need protection.
- Skipping the box: We can’t stress this enough. One bad ball and you’ll regret it.
- Not maintaining gear: Sweat and dirt degrade padding. Clean your gear regularly.
Checklist Summary
Here’s your quick-reference checklist. Print it, save it, or share it with your team.
- Helmet – Certified, snug fit, steel grille
- Leg pads – Correct length, secure straps, lightweight for your format
- Batting gloves – Reinforced palm, flexible, proper size
- Keeper gloves (if applicable) – Webbing, back-of-hand padding, good grip
- Box / abdominal guard – Hard shell, comfortable fit, breathable
- Chest guard (optional but recommended) – Lightweight, for fast bowling or close-in fielding
- Arm / forearm guards – Lightweight, secure fit
- Thigh and hip pads – Inner thigh pads, hip protection
- Footwear – Appropriate spikes/studs, ankle support, good cushioning
- Sun protection – SPF 50+ sunscreen, cap/hat, sunglasses, long sleeves
- Gear bag – Ventilated, separate compartments, waterproof base
Stay safe out there. The game’s better when everyone walks off the field in one piece.
Reader Comments (0)