Cricket has evolved far beyond what happens between the crease and the boundary rope. In modern Australian cricket—from the intensity of a Border-Gavaskar Trophy battle to the fireworks of the Big Bash League—video analysis has become an essential weapon in the tactical arsenal. Whether you're a grassroots coach preparing your local club for a Sheffield Shield-style grind, a player looking to break into higher representative honours, or a parent helping a junior understand their game, mastering video analysis can transform how you read the game.
This article provides a practical, step-by-step checklist to help you use video analysis effectively for Australian cricket tactics. By the end, you'll have a repeatable process to break down batting, bowling, and fielding performances—and apply those insights to real match situations.
What You'll Achieve
By following this guide, you will:
- Learn how to systematically review your own or your team's performances
- Identify technical flaws and tactical patterns in batting, bowling, and fielding
- Understand how to use footage to prepare for specific opponents, including Test series opponents or BBL rivals
- Develop a repeatable workflow that fits into a training week without overwhelming you
- Avoid common pitfalls that waste time and produce misleading conclusions
Prerequisites / What You Need
Before you start, gather these essentials:
- Video footage: Match recordings, training sessions, or highlights. Smartphone footage is fine for grassroots; professional setups may use multiple camera angles.
- A device for playback: Laptop, tablet, or smartphone with a screen large enough to see detail.
- Video analysis software or app: Free options like Hudl Technique, Coach's Eye, or even YouTube's slow-motion and annotation tools. For advanced work, consider SportsCode or Nacsport.
- Notebook or digital notes: For recording observations, timestamps, and action points.
- A quiet, distraction-free environment: You need focus to spot subtle patterns.
- Basic understanding of cricket tactics: Familiarity with field placements, bowling plans, and batting strategies. If you're new, start with our guide on game-plan-strategies.
Step-by-Step Process
Step 1: Define Your Objective
Before you press play, know exactly what you're looking for. Vague goals like "see how I played" lead to wasted time. Instead, set specific questions:
- For a batsman: "How did I handle short-pitched bowling from Pat Cummins' pace?" or "What was my footwork against spin in the middle overs?"
- For a bowler: "Was my seam position consistent during the PowerPlay in the Big Bash League?" or "How did I adjust my length after being hit for boundaries?"
- For a team: "What patterns did the opposition use in their field placements during the Ashes series?" or "How did our running between wickets break down in the final session?"
Step 2: Gather and Organise Your Footage
Collect all relevant video files. For match analysis, you'll want:
- Full match footage (if available)
- Specific innings or spells
- Multiple camera angles (side-on for bowling, front-on for batting, behind the bowler for field placements)
If you're analysing an opponent, focus on recent matches—especially in the same conditions you'll face. For example, if you're preparing for a Test series at the Melbourne Cricket Ground, prioritise footage from MCG matches.
Step 3: Watch the Full Footage Once (No Notes)
This is counterintuitive, but critical. Watch the entire session or match without pausing, annotating, or taking notes. Your goal is to absorb the flow:
- Notice the ebb and flow of momentum
- See how field placements changed after boundaries
- Observe body language after wickets or dropped catches
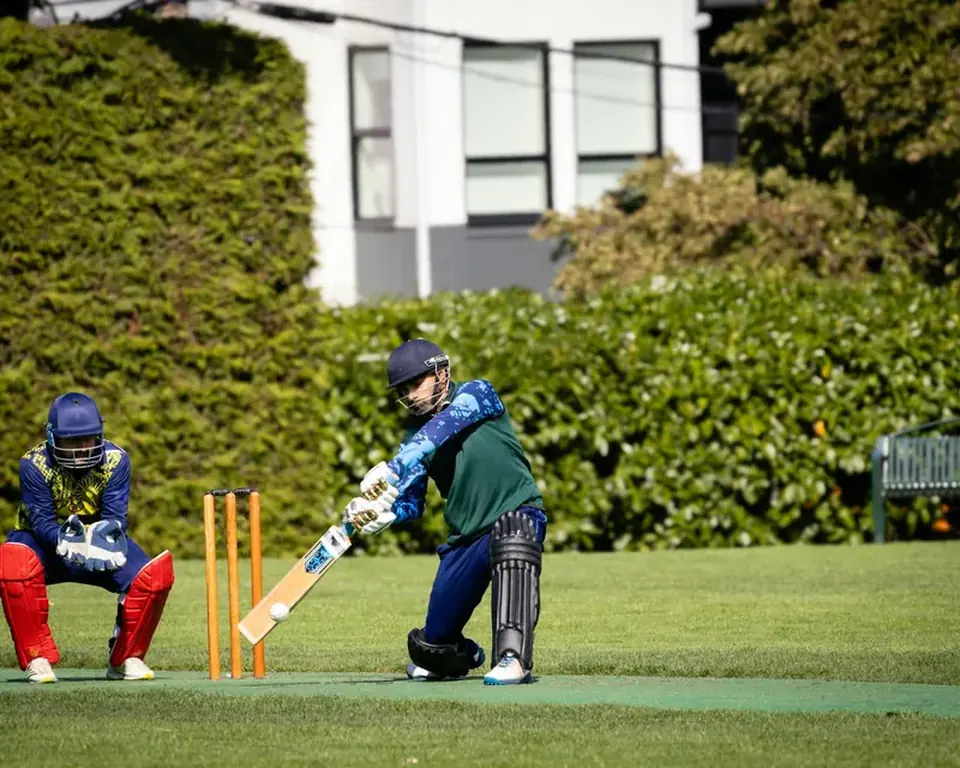
Step 4: Break Down Each Delivery or Shot in Slow Motion
Now go back and watch each key moment at reduced speed—50% or 25% speed is ideal. Use your software's slow-motion and frame-by-frame functions.
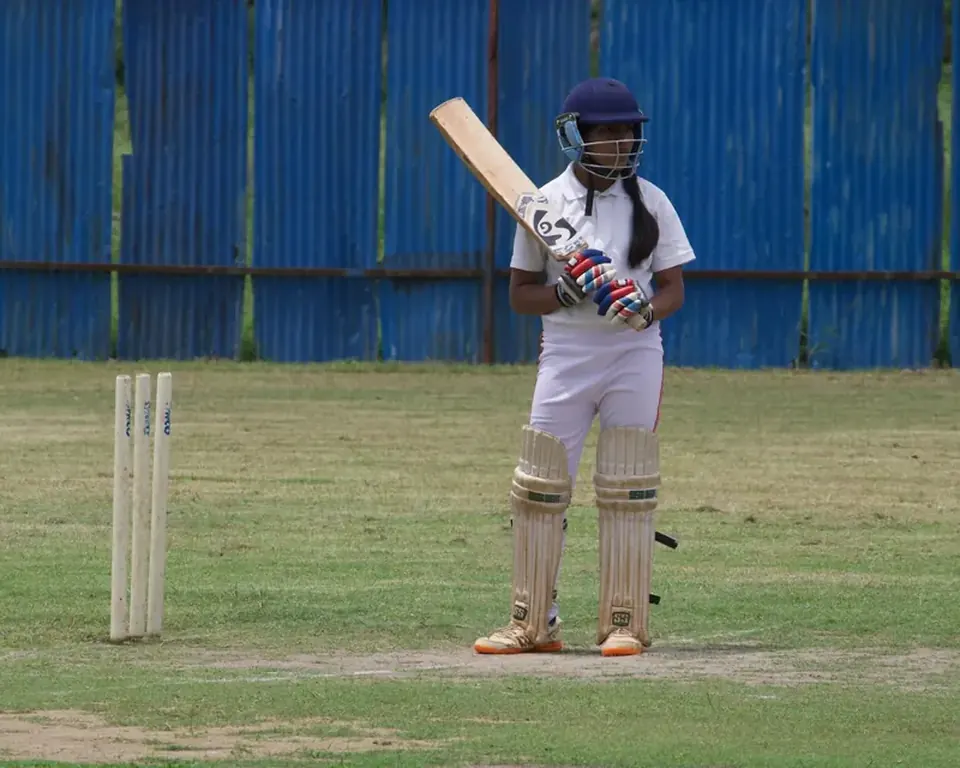
For batting:
- Check your head position: Is it still at the point of contact? Does it fall over toward the off side when driving?
- Examine your backlift: Is it consistent? Does it open the face too early?
- Watch your feet: Are you getting to the pitch of the ball? Are you stuck in the crease against spin?
- Analyse your run-up: Is it smooth and accelerating? Do you lose rhythm in the delivery stride?
- Check your wrist position at release: Is the seam upright for a Test match spell, or scrambled for T20 variations?
- Look at your follow-through: Are you landing balanced, or falling away to the leg side?
- Watch your initial movement: Do you react quickly or hesitate?
- Check your throwing technique: Is your arm high and straight? Are you transferring weight properly?
Step 5: Identify Patterns and Tendencies
Look for recurring themes across multiple deliveries or innings. A single poor shot might be a mistake; the same mistake three times is a pattern.
Common patterns to spot:
- Batting: Repeatedly playing away from the body against pace; struggling to rotate strike against spin; falling to the same type of delivery (e.g., short ball, full outside off).
- Bowling: Drifting onto the pads when tired; over-pitching in the PowerPlay; losing line and length after a boundary.
- Fielding: Dropping catches when diving forward; poor throwing accuracy when under pressure.
Step 6: Compare Against a Benchmark
You need a reference point. This could be:
- A video of a skilled player performing the same skill (e.g., Steve Smith's trigger movements against spin)
- Your own "best" footage from a previous match
- A coaching video demonstrating correct technique
- Grip or stance
- Head position
- Weight transfer
- Follow-through
Step 7: Create an Action Plan
Analysis without action is entertainment. Turn your observations into a structured plan:
- Immediate fixes: One or two technical adjustments to work on in your next training session. Example: "Keep head still when driving through cover."
- Tactical adjustments: Changes to your game plan. Example: "In the PowerPlay, look to hit straight rather than square when the field is spread."
- Opponent-specific notes: For upcoming matches. Example: "Opposition spinner bowls 80% of balls on a good length; look to use your feet and hit down the ground."
Step 8: Review and Repeat
Video analysis is cyclical, not one-off. After implementing your action plan:
- Record your next training session or match
- Repeat the process from Step 1
- Compare new footage with previous analysis to track progress
Pro Tips / Common Mistakes
Pro Tips
- Use multiple angles when possible: Side-on for bowling action, front-on for batting stance, high-angle for field placements. Each angle reveals different information.
- Focus on process, not outcome: A wide yorker that gets hit for four might still be a good ball; a loose drive that goes to the boundary might disguise a technical flaw. Judge the process, not the result.
- Involve your team: Share analysis with teammates. A bowler might notice something in a batsman's footwork that the batsman missed. Group analysis builds collective tactical awareness.
- Use time stamps efficiently: Create a code system—"BAT-FOOT-01" for batting footwork issue, "BOWL-SEAM-02" for bowling seam issue. This makes searching through footage faster.
- Combine with GPS data: If your club uses gps-trackers, cross-reference movement data with video. You might find that your bowling pace drops after a certain distance covered, indicating fatigue.
Common Mistakes to Avoid
- Watching too much at once: Limit analysis sessions to 30-45 minutes. Your brain fatigues, and you'll miss details.
- Confirmation bias: Don't look only for evidence that supports your existing beliefs. Be open to finding new weaknesses or unexpected strengths.
- Ignoring context: A batsman's poor shot might be due to a great delivery, not a technical flaw. Always consider the bowler, pitch, and match situation.
- Over-analysing: Not every delivery needs frame-by-frame scrutiny. Focus on key moments: boundaries, wickets, close calls, and turning points.
- Neglecting fielding and running: Batting and bowling get most attention, but poor fielding costs matches. Analyse catching, throwing, and ground fielding with the same rigour.
- Forgetting to act: The most common mistake is doing analysis but never implementing changes. Your action plan must be specific and timed.
Checklist Summary
Use this checklist every time you sit down for video analysis:
- Define your objective: Write down 1-3 specific questions you want to answer.
- Gather and organise footage: Label files clearly, collect multiple angles if possible.
- Watch full footage once (no notes): Absorb the flow and context.
- Break down key moments in slow motion: Use frame-by-frame for technical details.
- Identify patterns and tendencies: Look for recurring themes across deliveries or innings.
- Compare against a benchmark: Use split-screen or overlay to spot differences.
- Create an action plan: Write immediate fixes, tactical adjustments, and opponent notes.
- Review and repeat: Schedule regular analysis sessions and track progress over time.
Video analysis is a skill in itself—one that separates good players from great ones, and good coaches from exceptional ones. Whether you're preparing for a Sheffield Shield campaign, a Big Bash League season, or a local club match, this process will give you a tactical edge. Pair it with a solid foundation in skills-training-plan and a clear understanding of umpire-signals, and you'll be reading the game at a level most players never reach.
Now, load that footage, set your objective, and start seeing the game differently. The insights are waiting.
Reader Comments (0)