
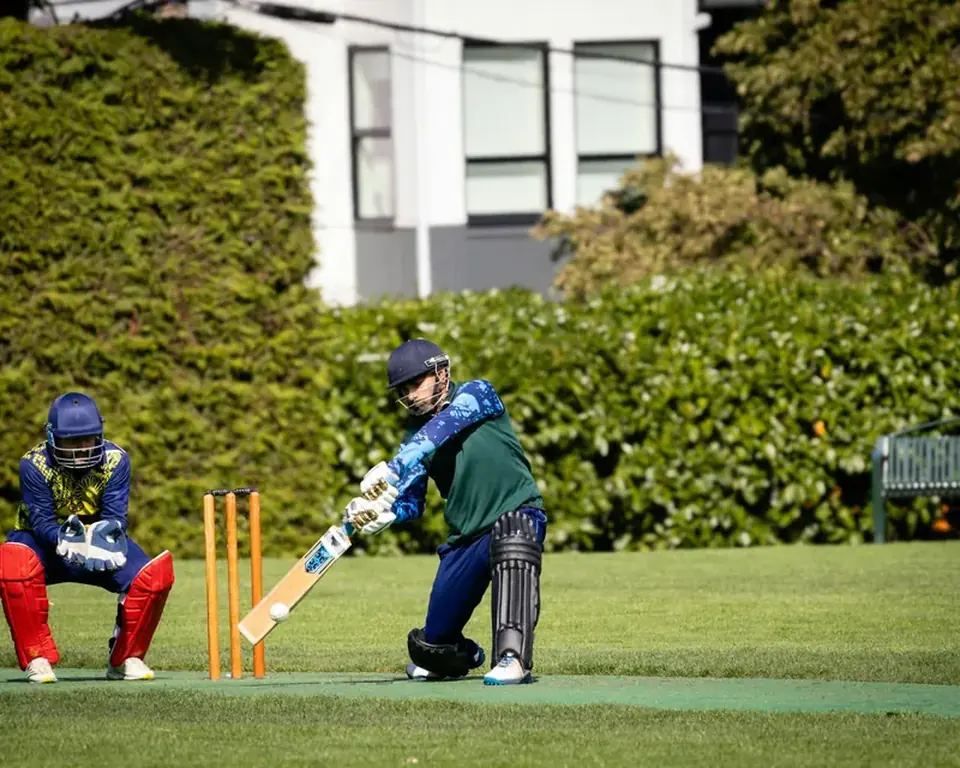
The slips cordon is where Test matches are won and lost. Ask any seasoned Sheffield Shield coach or a veteran of the Ashes series: a dropped catch in the slips can shift the momentum of an entire innings. For grassroots players, parents coaching junior sides, and local club cricketers looking to sharpen their skills, mastering slip catching is non-negotiable. This guide provides a step-by-step checklist of drills designed to improve your reflexes, hand positioning, and concentration in the cordon.
Whether you are preparing for a weekend club game, a junior representative trial, or simply want to emulate the consistency of top-level slip fielders, these drills are built for real-world application. No fluff, no gimmicks—just practical, repeatable work.
Prerequisites / What You Need
Before you step onto the training ground, ensure you have the following:
- A partner or coach: Slip catching is a reactive skill. You need someone to feed you catches—ideally with a bat and a bucket of balls.
- Cricket balls (red or white): Use regulation-weight balls. For junior players, consider slightly softer balls but maintain standard size.
- Slip catching cradle or a simple net: A cradle helps simulate the edge. If unavailable, a bat and a tennis ball can work for basic drills.
- Cones or markers: To define your starting position and target area.
- Protective gear: Slip fielders often stand close. Wear a helmet and, for close-in positions, a box and pads if practicing at pace.
- Water and a towel: Slip catching is about concentration; dehydration and sweat can ruin your grip.
Step-by-Step Process
1. Set Up Your Slip Catching Station
Position yourself in a standard first or second slip position. For junior players, start slightly wider to reduce reaction time pressure. Place a cone where your outside foot will be—this is your starting marker.
- For right-handed batters: Stand approximately 10-15 metres from the batter (or feeder) and about 1-2 metres to the off side.
- Feeder stands at a 45-degree angle to you, holding a bat. The feeder will tap the ball to simulate an edge.
2. Master the Ready Position
Your body must be in an athletic, balanced stance before the ball is delivered.
- Feet shoulder-width apart, weight on the balls of your feet.
- Knees slightly bent, torso leaning forward.
- Hands low and soft, palms facing the feeder, fingers pointing down. This is the "soft hands" position that many top-level fielders emphasise.
- Eyes locked on the bat face and the feeder's hands.
3. Drill 1: The "Tap and Catch" (Static Drill)
This is the foundation drill for all slip fielders, from Under-12s to Sheffield Shield players.
- Feeder taps the ball with the bat's edge, directing it toward you at a moderate pace.
- Focus on watching the ball from the moment it leaves the bat face.
- Catch with soft hands—let the ball come to you rather than snatching at it.
- After each catch, reset to your starting position behind the cone.
4. Drill 2: Moving Slip (Lateral Movement)
In a real Test series or Ashes Test, the ball rarely comes straight at you. You must move laterally to cover the gap between first and second slip.
- Place two cones 1.5 metres apart, representing the space between slip fielders.
- Start at the left cone (first slip position).
- Feeder taps the ball to your right, forcing you to shuffle across.
- Take a cross-over step if the ball is wide, then catch.
Repetitions: 15 catches moving to the right, then 15 moving to the left.
5. Drill 3: High and Low Slip Catches
Not all edges travel at waist height. Some fly high, others skid low. This drill builds versatility.
- Feeder alternates between a high edge (above your head) and a low edge (below your knees).
- For high catches: Keep your eyes on the ball, track it over your shoulder, and catch with fingers pointing up.
- For low catches: Drop your body low, keep your hands soft, and scoop the ball upward if necessary.
Repetitions: 10 high, 10 low. Mix the order randomly to simulate match conditions.
6. Drill 4: Reaction Catches with a Tennis Ball
This is a favourite drill in high-performance programs. A tennis ball bounces unpredictably and forces you to react faster.
- Feeder uses a tennis ball and a bat to tap edges at varying speeds.
- Stand closer than usual—about 8-10 metres.
- Focus purely on hand-eye coordination. Do not worry about perfect technique; just catch the ball.
Repetitions: 30 catches. Aim for 25 successful catches.
7. Drill 5: Match Simulation (Pressure Catches)
This drill replicates the pressure of a Test match or a crucial Sheffield Shield game.
- Set a target: For example, "You must catch 8 out of 10."
- Feeder delivers 10 random edges—some wide, some high, some low.
- If you drop one, you must do 5 push-ups or a similar penalty (simulating the consequence of a drop in a match).
- Keep a running tally. Your goal is to achieve a 90% success rate.

Repetitions: 3 sets of 10.
8. Drill 6: Multiple Feeders (Advanced)
For experienced club players or those aspiring to higher levels, this drill simulates chaos.
- Set up two feeders at different angles.
- They alternate feeding edges without warning.
- You must track the ball from the moment it leaves the bat, not from the feeder's hand.
Repetitions: 20 catches per session. This is fatiguing, so keep water nearby.
Pro Tips / Common Mistakes
Pro Tips
- Watch the bat, not the ball: This sounds counterintuitive, but by watching the bat face, you see the edge happening. Your brain then predicts the ball's trajectory faster.
- Soft hands are everything: Imagine you are catching an egg. Snatch at the ball, and it pops out. Let it nestle into your palms.
- Practice with both hands: In the slips, you sometimes need to catch with one hand. Practice one-handed catches (non-dominant hand) for 5 minutes each session.
- Use visualisation: Before a match, close your eyes and visualise catching edges. This primes your neural pathways.
- Stay low in limited-overs cricket: In limited-overs matches, the ball often skids low due to dew or pace. Keep your hands low and your body compact.
Common Mistakes
- Standing too upright: This slows your reaction time. Stay in an athletic crouch.
- Looking up too early: Many fielders look at the ball in the air and stop tracking it. Watch it all the way into your hands.
- Snatching at the ball: This is the number one cause of drops. Let the ball come to you.
- Not resetting after a drop: A dropped catch often leads to another. Take a deep breath, reset your position, and focus on the next ball.
- Ignoring footwork: You cannot catch well if your feet are planted. Shuffle, adjust, and catch with your feet underneath you.
Checklist Summary
Use this checklist before, during, and after your slip catching training session. Tick off each item as you complete it.
- Set up your slip catching station with cones and markers.
- Adopt the ready position: feet shoulder-width, knees bent, hands low.
- Complete 20 static "Tap and Catch" reps (Drill 1).
- Perform 15 lateral movement catches to the right (Drill 2).
- Perform 15 lateral movement catches to the left (Drill 2).
- Complete 10 high and 10 low catches (Drill 3).
- Do 30 reaction catches with a tennis ball (Drill 4).
- Run 3 sets of 10 pressure catches with a target score (Drill 5).
- If advanced, complete 20 catches with multiple feeders (Drill 6).
- Cool down: stretch your fingers, wrists, and shoulders.
- Review your drops: identify patterns (e.g., high catches, wide balls).
- Hydrate and rest before your next session.
For further reading on fielding fundamentals, check out our guides on batting drills for beginners and yorker practice techniques. And remember: every catch you take in training is one you are more likely to hold in a match. Now get out there and get those hands soft.
Reader Comments (0)